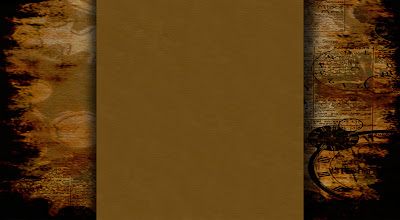
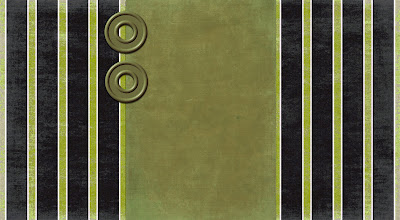
Heyza! So. I bet a bunch of you have noticed my new background. Mwahaha. Let's just say that background took a lot of work. :P
And I'll probably be changing it soon anyway... Something whose materials I actually made (yeah, I got the materials from this...) Anyway. Very cool, and I am very thankful to the maker of the materials. :)
Alright. But on to the tutorial. Alright? First of all, you're going to need some type of photo image thingy a jig. I use Photoshop. But that's just me. :)
First of all, you're going to make a new document.
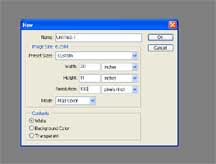
So, I've heard that making the width "14.5" works best for most people, but since we have a very wide monitor here, and I'm actually planning on maybe using this one, I have to set it at 20. For all of you with normal ones... 14.5 might be the best way to go. :)
Next, you have to get your materials. There's tons of Free Digital Scrapbooking sites all over the internet... I have found this one to be very helpful.
You download whatever papers/embellishments/etc. you want to use, then save them in a file you will be able to remember, then open them in your image/picture thingy. :)
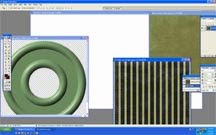
To make the background, all you have to do is take your background design (I'm using the stripes), and make it fit into your blank document.
To make the center (which has to be around 7.5 inches wide), I usually make a new (blank) area, with the height of 11, and the width of 7.5. Then you can make your middle color (I'm using the plain green) and make it fit there. Then drag it over onto your background, center it, and there's that bit. Add your embellishments, drop shadows, writing, etc., etc., etc...
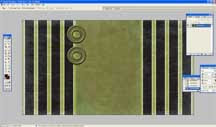
then flatten all layers. Save the file (remember to make it large) then go to your blog. put a new post, and add the background as a photo.
Then, you're going to "view picture".
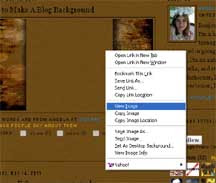
This will bring up your picture (really background) in the window. There will be an url at the top of the page- the link to your picture. Copy this link!!!
Now go to your blog's "Design" tab, and click "edit HTML". Then click ctrl-F, to bring up your find box. put in this bit of cooding "body { background" and find it.
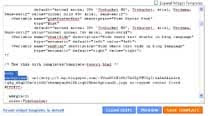
See the bit that says
body {
background:$bgcolor
? I mean, on your HTML. Mine has the link to my background in it. ;) Delete that bit of script. Then put in this bit:
body {
background: url(INSERT YOUR BACKGROUND LINK HERE) no-repeat center fixed #FFFFFF;
in the INSERT YOUR BACKGROUND LINK HERE, you are going to put the link to your background which I told you to copy. When you opened up your picture in "view image"? That's the link to put here. Put it in. Click "Save Template" and then preview it to make sure it looks good.
Oh, and if anyone has any problems seeing my background, please, PLEASE let me know. If it's too wide, tell me, as well, because, like I said, we have a super wide monitor so the screen that fits here might not fit anywhere else.
...
In which case I will change the width so it'll fit basically anywhere. :)
If you have any problems or if you need help with anything, or if my instructions were not clear, you can put a comment here and I'll put the help up in this post.
~Angela


1 comment:
Awesome!!! It looks really professional, well done! :D
Post a Comment